Hello and welcome to our comprehensive guide on the 36 volt E-Z Go golf cart wiring diagram. In this article, we will provide you with detailed information and step-by-step instructions on how to properly wire your 36 volt E-Z Go golf cart. Whether you are a golf cart enthusiast or a professional mechanic, this guide will help you understand the wiring diagram and troubleshoot any electrical issues you may encounter. So, let’s dive in and explore the world of 36 volt E-Z Go golf cart wiring!
1. Understanding the Basics
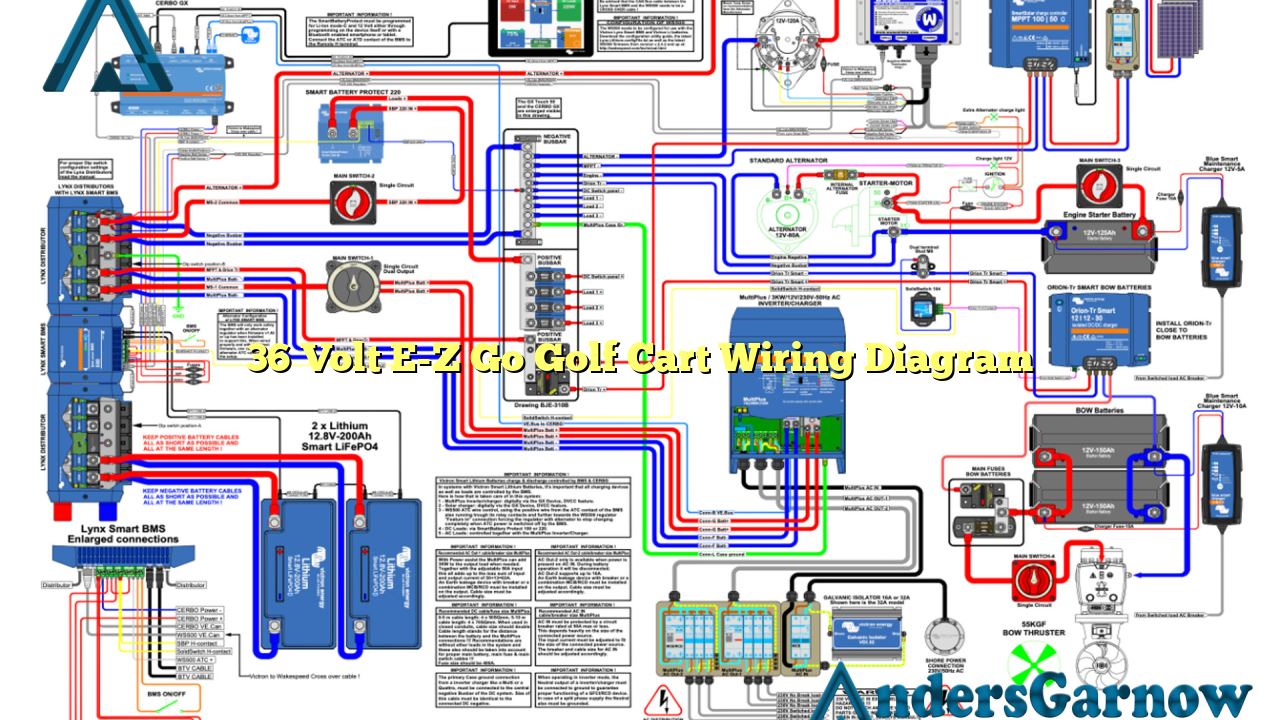
Before we begin, let’s briefly discuss the basics of a 36 volt E-Z Go golf cart wiring diagram. The wiring diagram serves as a blueprint for the electrical system of your golf cart. It shows the various components and their connections, allowing you to understand how electricity flows through the cart. By understanding the basics, you will be better equipped to handle any wiring-related tasks.
Advantages and Disadvantages
The advantages of using a 36 volt E-Z Go golf cart wiring diagram are numerous. Firstly, it provides a clear visual representation of the electrical system, making troubleshooting easier. Additionally, it ensures that all connections are made correctly, reducing the risk of electrical malfunctions. However, a potential disadvantage is that it requires some technical knowledge to interpret the diagram accurately. If you are not familiar with electrical systems, seeking professional assistance might be necessary.
2. Key Components
In this section, we will discuss the key components that make up the wiring diagram of a 36 volt E-Z Go golf cart. These components include the battery pack, solenoid, controller, motor, and various switches and connectors. Understanding the role of each component is crucial for proper wiring and maintenance.
3. Wiring Diagram Symbols
Just like any other diagram, a 36 volt E-Z Go golf cart wiring diagram uses symbols to represent different elements. In this section, we will explain the most commonly used symbols and their meanings. This will enable you to decipher the diagram and identify the appropriate connections.
4. Step-by-Step Wiring Instructions
Now that you have a good understanding of the basics, components, and symbols, it’s time to dive into the actual wiring process. In this section, we will provide you with step-by-step instructions on how to wire your 36 volt E-Z Go golf cart. Each step will be accompanied by a detailed explanation and, if necessary, illustrations to ensure clarity.
5. Troubleshooting Common Issues
Even with proper wiring, issues may still arise in your 36 volt E-Z Go golf cart. In this section, we will address some common electrical problems and provide troubleshooting tips. From battery-related issues to faulty connections, we will help you diagnose and resolve any problems you may encounter.
6. Alternative Wiring Options
While the standard wiring diagram for a 36 volt E-Z Go golf cart is highly reliable, some individuals may prefer alternative wiring options. In this section, we will briefly discuss a few alternatives and their potential benefits. It’s important to note that any modifications should be done by experienced individuals to ensure safety and compatibility.
7. Complete Wiring Diagram Table
| Component | Connection | Color |
|---|---|---|
| Battery Pack | Positive to Positive | Red |
| Solenoid | Controller to Motor | White |
| Controller | Battery Pack to Motor | Blue |
| Motor | Controller to Solenoid | Black |
| Switches | Various Connections | Assorted |
| Connectors | Various Connections | Assorted |
8. Frequently Asked Questions (FAQ)
Q: Can I use a 36 volt E-Z Go golf cart wiring diagram for other golf cart brands?
A: While the basic principles of wiring may be similar, it’s always recommended to use a wiring diagram specifically designed for your golf cart brand and model. Different brands may have different wiring configurations, so using a generic diagram may lead to incorrect connections.
Q: How often should I check the wiring of my 36 volt E-Z Go golf cart?
A: It’s good practice to inspect the wiring of your golf cart at least once a year or whenever you encounter electrical issues. Regular checks can help identify potential problems early on and prevent more significant damage.
Q: Can I upgrade my 36 volt E-Z Go golf cart to a 48 volt system?
A: While it’s possible to upgrade your golf cart’s voltage, it’s a complex process that requires expertise and may void any warranties. It’s best to consult with a professional to determine if a voltage upgrade is suitable for your specific cart.
In Conclusion
Proper wiring is essential for the optimal performance and safety of your 36 volt E-Z Go golf cart. By following the instructions provided in this guide and referring to the wiring diagram, you can ensure that your golf cart’s electrical system is functioning correctly. Remember to exercise caution when working with electricity and seek professional help if needed. Enjoy your golfing experience with a well-wired golf cart!
