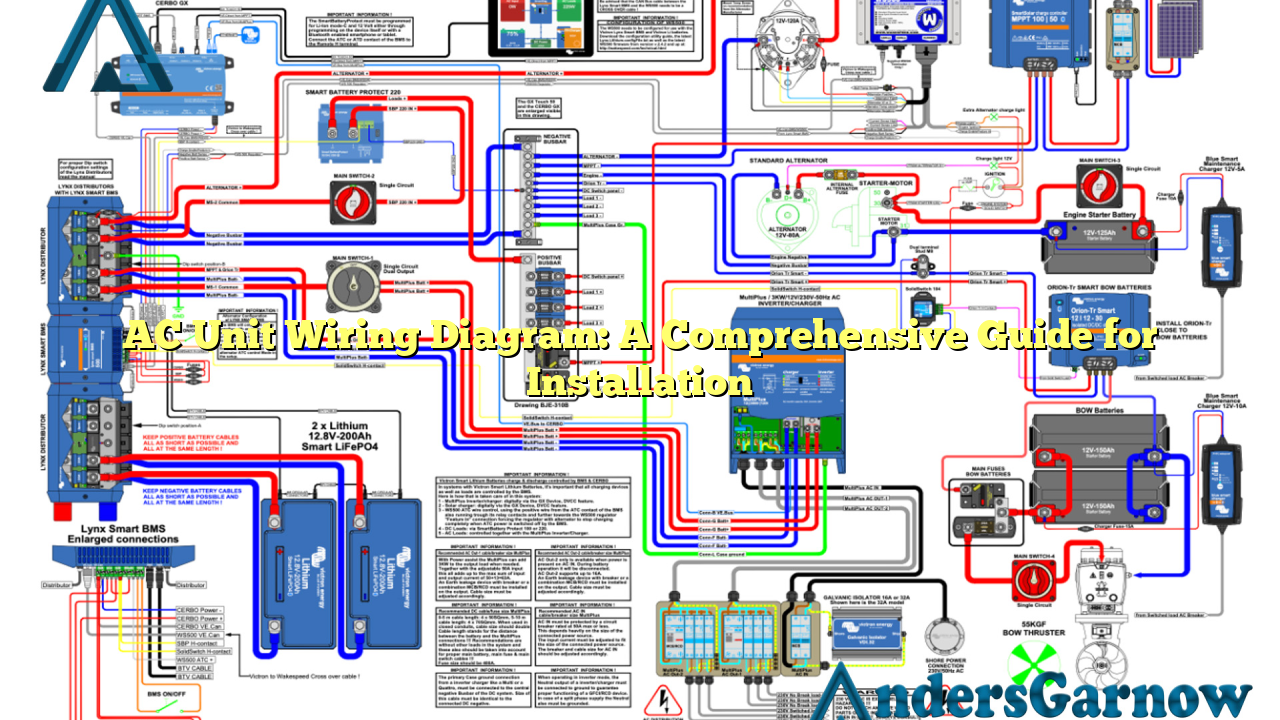
Hello and welcome to our comprehensive guide on AC unit wiring diagram. In this article, we will provide you with detailed information on how to properly wire an AC unit for installation. Whether you are a professional HVAC technician or a DIY enthusiast, understanding the wiring diagram is crucial to ensure a safe and efficient installation process.
1. Understanding the Basics
Before we delve into the specifics of the AC unit wiring diagram, let’s first understand the basic components involved. An air conditioning unit consists of various parts, including the compressor, condenser, fan motor, thermostat, and various electrical connections.
The wiring diagram serves as a map that illustrates the electrical connections between these components, allowing you to correctly install and troubleshoot the system.
Advantages:
- Provides a clear visual representation of the electrical connections.
- Ensures proper installation and functionality of the AC unit.
- Facilitates troubleshooting and repair.
Disadvantages:
- Requires technical knowledge and understanding of electrical systems.
- Incorrect wiring can lead to system malfunctions or even electrical hazards.
- May vary between different AC unit models and manufacturers.
2. Components of an AC Unit Wiring Diagram
To better understand the wiring diagram, let’s break it down into its key components:
| Component | Description |
|---|---|
| Compressor | Main component responsible for compressing refrigerant. |
| Condenser | Transfers heat from the refrigerant to the outdoor environment. |
| Fan Motor | Circulates air over the condenser and evaporator coils. |
| Thermostat | Controls the temperature and operation of the AC unit. |
| Power Supply | Provides electrical power to the AC unit. |
| Capacitors | Store and release electrical energy to start and run the motor. |
| Control Board | Regulates the operation of various components. |
3. Step-by-Step Wiring Process
Now, let’s walk through the step-by-step process of wiring an AC unit:
Step 1: Safety First
Ensure that the power supply to the AC unit is turned off to prevent electrical accidents.
Step 2: Familiarize Yourself with the Wiring Diagram
Thoroughly examine the wiring diagram provided by the manufacturer. Identify the various components and their corresponding electrical connections.
Step 3: Wiring the Power Supply
Connect the power supply wires to the designated terminals on the control board or relay. Ensure proper grounding for safety.
Step 4: Wiring the Compressor
Connect the compressor wires according to the wiring diagram. This usually involves connecting the start and run capacitors, as well as the overload protector.
Step 5: Wiring the Fan Motor
Connect the fan motor wires to the designated terminals on the control board or relay. Take note of the correct wire color codes, as specified in the wiring diagram.
Step 6: Wiring the Thermostat
Follow the wiring diagram instructions to connect the thermostat wires to the corresponding terminals on the control board or relay. Ensure proper wire routing and insulation.
Step 7: Double-Check and Test
Once all the connections are made, double-check the wiring to ensure accuracy. Afterward, turn on the power supply and test the functionality of the AC unit.
Alternative AC Unit Wiring Diagrams
While the basic principles of wiring an AC unit remain the same, different models and manufacturers may have variations in their wiring diagrams. It is essential to refer to the specific wiring diagram provided by the manufacturer to ensure compatibility and proper installation.
Frequently Asked Questions (FAQ)
Q: Can I install an AC unit without professional help?
A: While it is possible for experienced DIY enthusiasts to install an AC unit, we highly recommend seeking professional assistance. Improper installation can lead to system malfunctions and safety hazards.
Q: Are all AC unit wiring diagrams the same?
A: No, wiring diagrams can vary between different AC unit models and manufacturers. Always refer to the specific wiring diagram provided by the manufacturer for accurate installation.
Q: What if I make a mistake in the wiring connections?
A: Incorrect wiring connections can lead to system malfunctions or even electrical hazards. If you are unsure about the wiring process, it is best to consult a professional HVAC technician.
In Conclusion
Properly understanding and following the AC unit wiring diagram is crucial for a safe and efficient installation. Always refer to the manufacturer’s instructions and seek professional assistance if needed. By doing so, you can ensure the optimal performance and longevity of your AC unit.
