Hi there! If you are looking for a comprehensive and detailed wiring diagram for a 36 volt EZ Go golf cart, you have come to the right place. In this article, we will explore the various aspects of the wiring diagram, its advantages, disadvantages, and provide alternative options. So, let’s dive in!
1. Understanding the Wiring Diagram
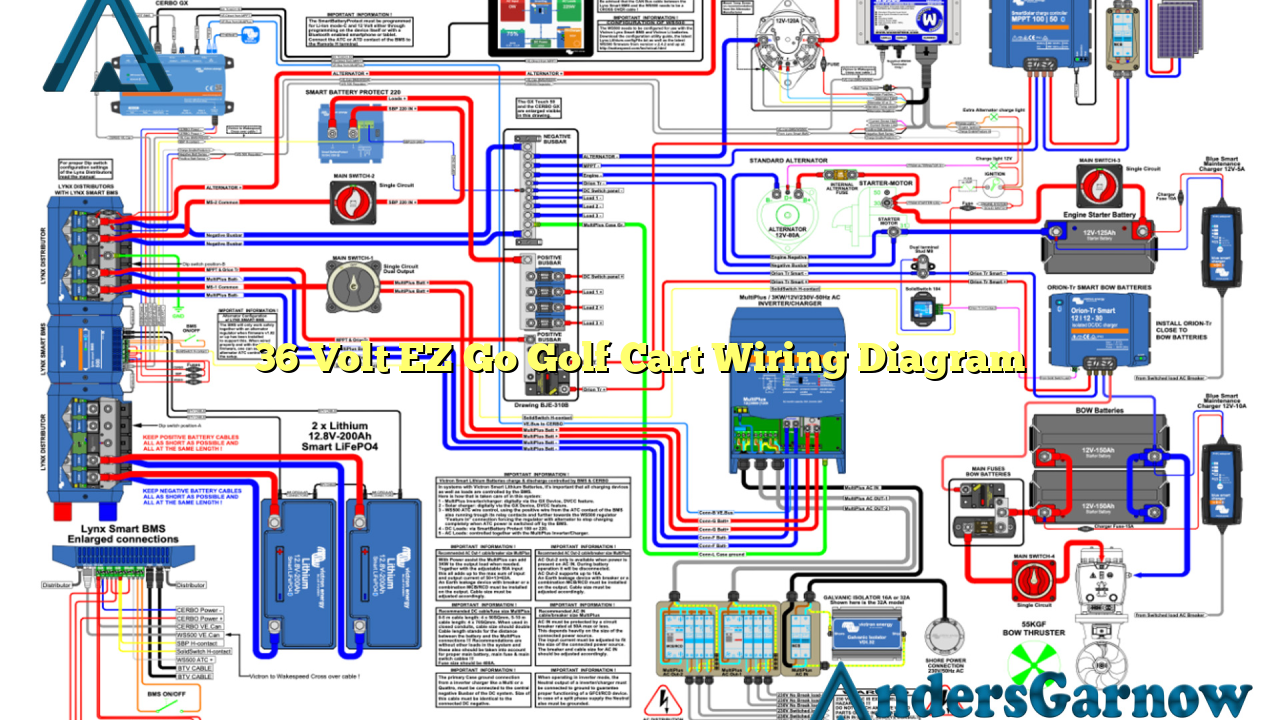
The wiring diagram is a visual representation of the electrical connections and components of the 36 volt EZ Go golf cart. It illustrates how the different parts are interconnected and helps in troubleshooting and repairing electrical issues.
2. Benefits of Having a Wiring Diagram
Having a wiring diagram for your golf cart can be highly advantageous. It allows you to understand the electrical system better, making it easier to diagnose and fix any problems that may arise. It also helps in maintaining the cart’s electrical components properly.
3. Wiring Diagram Components
The wiring diagram for a 36 volt EZ Go golf cart includes various components such as batteries, solenoids, key switches, motor controllers, and more. Each component is represented by specific symbols and colors to indicate their function and connection points.
4. Step-by-Step Wiring Instructions
In this section, we will provide step-by-step instructions on how to wire your 36 volt EZ Go golf cart. It is essential to follow these instructions carefully to ensure a successful wiring process and avoid any potential hazards.
5. Common Issues and Troubleshooting
Even with a proper wiring diagram, golf cart electrical systems can encounter problems. In this section, we will discuss some common issues such as battery drain, faulty connections, and motor controller malfunction. We will also provide troubleshooting tips to resolve these problems.
6. Alternatives to 36 Volt EZ Go Golf Cart Wiring Diagram
If you are unable to find a suitable wiring diagram for your 36 volt EZ Go golf cart, there are alternative options available. Some online forums, golf cart community websites, and manufacturers’ websites may provide alternative diagrams or assistance in obtaining the necessary information.
7. Complete Wiring Diagram Table
| Component | Symbol | Description |
|---|---|---|
| Battery | [Battery Symbol] | Stores electrical energy |
| Solenoid | [Solenoid Symbol] | Controls the flow of current |
| Key Switch | [Key Switch Symbol] | Activates the cart’s electrical system |
| Motor Controller | [Motor Controller Symbol] | Regulates the speed and direction of the cart |
| Speed Controller | [Speed Controller Symbol] | Controls the cart’s speed settings |
| Forward/Reverse Switch | [Forward/Reverse Switch Symbol] | Determines the direction of the cart |
| Headlights | [Headlights Symbol] | Provides illumination for night driving |
| Turn Signals | [Turn Signals Symbol] | Indicates the intended direction of the cart |
| Horn | [Horn Symbol] | Produces a sound signal for safety purposes |
8. Frequently Asked Questions (FAQ)
Q: Can I use the same wiring diagram for a different golf cart model?
A: The wiring diagrams can vary slightly between different golf cart models. It is recommended to refer to the specific wiring diagram for your cart’s make and model.
Q: Are there any safety precautions to consider when working with the electrical system?
A: Absolutely! Before starting any work, ensure that the cart is turned off, the key is removed, and the batteries are disconnected. It is also advisable to wear protective gloves and eyewear.
Conclusion
In conclusion, a 36 volt EZ Go golf cart wiring diagram is an invaluable tool for understanding and maintaining the electrical system of your golf cart. It provides a visual representation of the connections and components, making troubleshooting and repairs easier. Remember to follow the wiring instructions carefully and prioritize safety when working with electrical systems. If you cannot find a suitable wiring diagram, explore alternative options and seek assistance from online communities or manufacturers. Happy golf carting!
