Hello readers! In this article, we will discuss the boat marine dual battery switch wiring diagram in detail. A dual battery switch is an essential component for boat owners who want to ensure a reliable power source while out on the water. It allows you to switch between two batteries or use them simultaneously, providing flexibility and peace of mind. Let’s dive into the details!
1. Understanding the Basics of Dual Battery Switch Wiring
Before we delve into the wiring diagram, let’s understand the basics. A dual battery switch typically has three positions: Battery 1, Battery 2, and Both. In the Battery 1 position, the switch connects only the first battery to the boat’s electrical system. Similarly, in the Battery 2 position, only the second battery is connected. The Both position connects both batteries in parallel, allowing them to work together.
Advantages:
– Provides backup power: With a dual battery switch, you can have one battery dedicated to starting the engine and the other for powering accessories. This way, if one battery fails, you still have a backup power source.- Extends battery life: By switching between batteries, you can evenly distribute the load, ensuring that each battery lasts longer.- Better control over power usage: You can control which battery to use based on your needs. For example, you can reserve one battery for essential electronics and the other for non-essential devices.
Disadvantages:
– Increased complexity: Installing a dual battery switch requires additional wiring, which can be challenging for beginners.- Cost: Dual battery switches can be more expensive than single battery setups.- Limited power capacity: Dual battery switches are suitable for small to medium-sized boats. For larger vessels or those with high power demands, alternative power management systems may be required.
2. Steps to Wire a Dual Battery Switch
Now, let’s go through the step-by-step process of wiring a dual battery switch:
- Identify the positive and negative terminals of your batteries.
- Disconnect the negative cables from both batteries.
- Connect a battery cable from the positive terminal of Battery 1 to the Common terminal of the switch.
- Connect a battery cable from the positive terminal of Battery 2 to the Common terminal of the switch.
- Connect the positive cable from the boat’s electrical system to the output terminal of the switch.
- Connect the negative cable from the boat’s electrical system to the negative terminal of Battery 1.
- Connect a jumper wire from the negative terminal of Battery 1 to the negative terminal of Battery 2.
- Reconnect the negative cables to both batteries.
3. Alternative Wiring Options
While the dual battery switch is a popular choice, there are alternative wiring options available:
1. Automatic Charging Relay (ACR): An ACR is an intelligent device that automatically combines and isolates batteries based on their voltage levels. It eliminates the need for manual switching and provides seamless power management.
2. Voltage-Sensitive Relay (VSR): Similar to an ACR, a VSR automatically connects batteries when a charging voltage is present. It disconnects them when the voltage drops, preventing the discharge of the starting battery.
3. Battery Isolator: A battery isolator uses diodes to separate batteries and prevent power flow between them. It ensures that each battery receives the required charge without overloading the system.
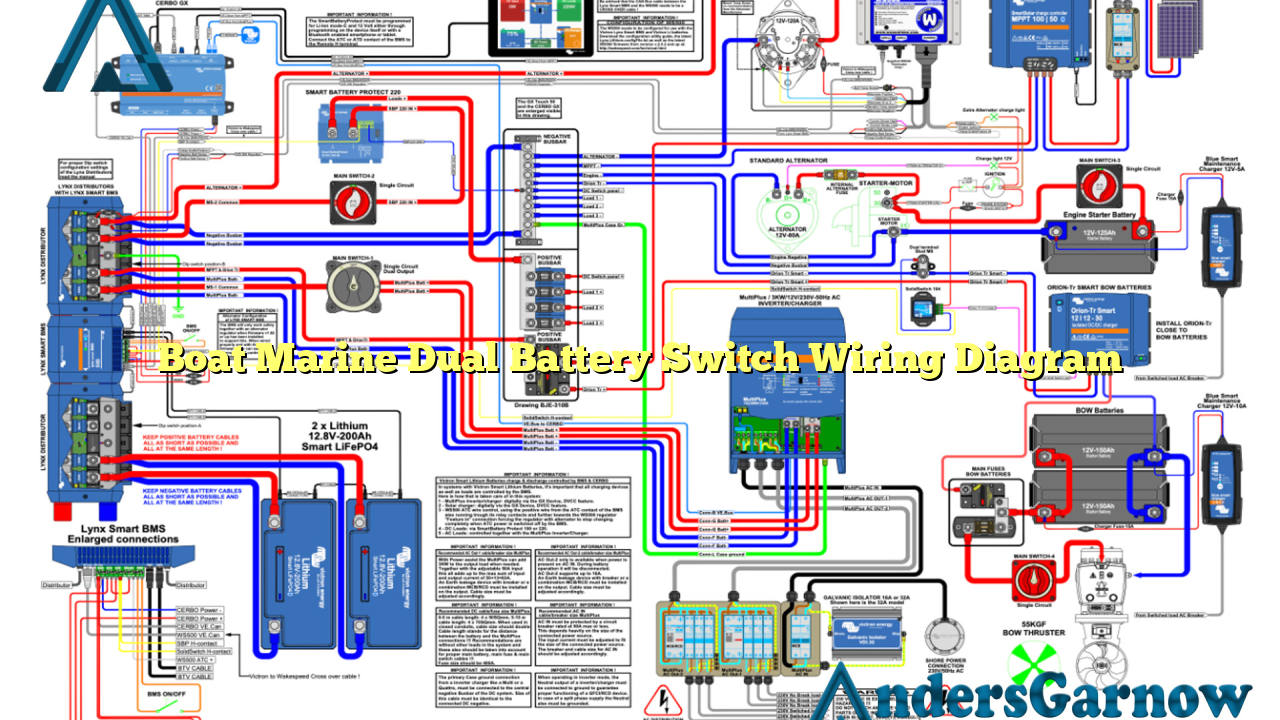
4. Boat Marine Dual Battery Switch Wiring Diagram
Below is a detailed boat marine dual battery switch wiring diagram:
| Switch Position | Battery 1 | Battery 2 |
|---|---|---|
| Battery 1 | Connected | Disconnected |
| Battery 2 | Disconnected | Connected |
| Both | Connected | Connected |
5. Frequently Asked Questions (FAQs)
Q: Can I use different types or sizes of batteries with a dual battery switch?
A: It’s recommended to use identical batteries to ensure balanced charging and discharging. Different battery types or sizes may have different voltage requirements, affecting the performance of the switch.
Q: Can I install a dual battery switch myself?
A: If you have experience with electrical systems and wiring, you can install a dual battery switch yourself. However, if you’re unsure, it’s best to consult a professional to avoid any safety risks or damage to your boat.
Q: How do I know when to switch between batteries?
A: Monitoring the voltage levels of your batteries is crucial. If one battery’s voltage drops significantly, it’s time to switch to the other battery or charge them both.
In conclusion
The boat marine dual battery switch wiring diagram provides a reliable and efficient way to manage power on your boat. It offers advantages such as backup power, extended battery life, and better control over power usage. However, it’s essential to consider the increased complexity and cost associated with dual battery systems. Alternatives like automatic charging relays, voltage-sensitive relays, and battery isolators are also worth exploring. Always follow proper wiring procedures and consult professionals if needed. Enjoy your boating adventures with a reliable power supply!
