Hello readers! In this article, we will provide you with a detailed analysis of the club car wiring diagram. Whether you are a car enthusiast or a professional mechanic, understanding the wiring diagram is crucial for proper maintenance and troubleshooting. So, let’s dive in and explore the intricacies of the club car wiring diagram.
1. Introduction to Club Car Wiring Diagram
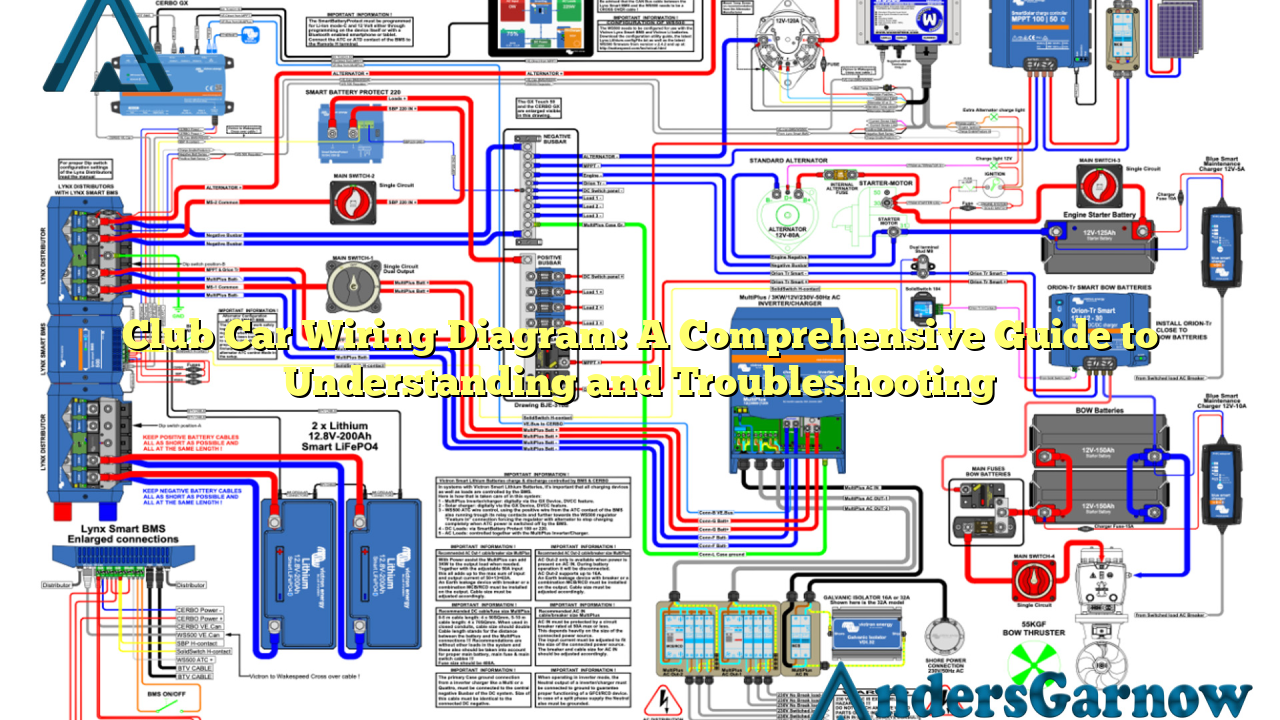
The club car wiring diagram is a visual representation of the electrical system present in a club car golf cart or utility vehicle. It provides a clear and organized layout of the various electrical components, their connections, and the flow of electrical current. By understanding the wiring diagram, you can easily identify and fix any electrical issues that may arise.
Advantages of Club Car Wiring Diagram
The club car wiring diagram offers several advantages, including:
- Efficient Troubleshooting: With a clear understanding of the wiring diagram, you can quickly identify the source of electrical problems and troubleshoot them effectively.
- Proper Maintenance: The wiring diagram helps you perform routine maintenance tasks such as checking connections, inspecting wires for damage, and ensuring proper grounding.
- Easy Modifications: If you plan to add new electrical components or modify the existing ones, the wiring diagram provides guidance on how to integrate them into the system seamlessly.
Disadvantages of Club Car Wiring Diagram
While the club car wiring diagram is a valuable tool, it does have a few limitations:
- Complexity: Understanding the wiring diagram requires some technical knowledge and familiarity with electrical systems. It may be challenging for beginners or individuals without prior experience.
- Incomplete or Outdated Information: In some cases, the wiring diagram may not provide all the necessary information or may be outdated. It is essential to cross-reference with the specific model and year of your club car.
2. Wiring Components and their Functions
The club car wiring diagram consists of several key components and their respective functions:
| Component | Function |
|---|---|
| Battery | Provides electrical power to the vehicle |
| Key Switch | Controls the flow of electrical current |
| Solenoid | Engages and disengages power to the motor |
| Controller | Regulates the speed and direction of the vehicle |
| Accelerator Pedal | Controls the speed of the vehicle |
| Forward/Reverse Switch | Determines the direction of the vehicle |
| Headlights | Provides illumination during low-light conditions |
| Taillights | Indicates the presence and direction of the vehicle |
| Brake Lights | Warns other drivers when the vehicle is braking |
| Accessory Outlet | Provides power for additional electrical accessories |
3. Understanding the Wiring Diagram Symbols
The club car wiring diagram uses various symbols to represent different electrical components and their connections. Here are some commonly used symbols:
- Battery: A rectangle with a plus (+) and minus (-) sign
- Switch: A circle with a line inside
- Motor: A circle with an “M” inside
- Resistor: A zigzag line
- Light Bulb: A circle with a cross inside
4. Step-by-Step Guide to Reading the Wiring Diagram
Reading the club car wiring diagram may seem overwhelming at first, but by following these steps, you can easily comprehend the information:
- Identify the key components: Locate the battery, key switch, solenoid, controller, and other major components on the diagram.
- Trace the electrical flow: Follow the lines and arrows to understand how the electrical current flows through the system.
- Check the connections: Examine the lines and dots that represent connections between components. Ensure they are secure and free of corrosion.
- Refer to the legend: Use the legend or key provided in the diagram to understand the meaning of different symbols and colors.
5. Common Issues and Troubleshooting Tips
While club car wiring diagrams vary based on the model and year, some common issues and troubleshooting tips can help you resolve electrical problems:
- No Power: If the vehicle doesn’t start or has no power, check the battery connections, fuse, and solenoid.
- Intermittent Power Loss: If the vehicle experiences intermittent power loss, inspect the wiring harness for loose connections or damaged wires.
- Lights Not Working: If the lights don’t turn on, check the bulbs, fuses, and switches.
- Controller Failure: If the vehicle doesn’t respond to the accelerator pedal, the controller may be faulty and require replacement.
6. Alternative Wiring Diagrams
While the club car wiring diagram is the standard reference, alternative wiring diagrams may exist for specific modifications or aftermarket installations. These alternative diagrams cater to specific needs and may include additional components or modified wiring configurations.
7. Frequently Asked Questions (FAQ)
Q: Can I use a club car wiring diagram for any model or year?
A: Club car wiring diagrams may vary based on the model and year. It is crucial to refer to the specific wiring diagram that corresponds to your vehicle’s make and model for accurate information.
Q: Are there any safety precautions I should follow when working with the electrical system?
A: Yes, when working with the electrical system, always disconnect the battery and ensure proper insulation to prevent electric shocks or short circuits. It is also advisable to wear safety gloves and goggles.
Conclusion
Understanding the club car wiring diagram is essential for maintaining and troubleshooting your golf cart or utility vehicle’s electrical system. By comprehending the diagram’s components, symbols, and connections, you can efficiently diagnose and rectify electrical issues. Remember to refer to the specific wiring diagram for your vehicle’s make and model and follow safety precautions when working with the electrical system. Happy troubleshooting!
