Hello and welcome to our in-depth article on EZGO wiring diagrams. If you are a golf cart owner or a technician looking for a detailed guide on EZGO wiring diagrams, you have come to the right place. In this article, we will provide you with all the information you need to understand, troubleshoot, and make the most out of your EZGO wiring system.
1. What is an EZGO Wiring Diagram?
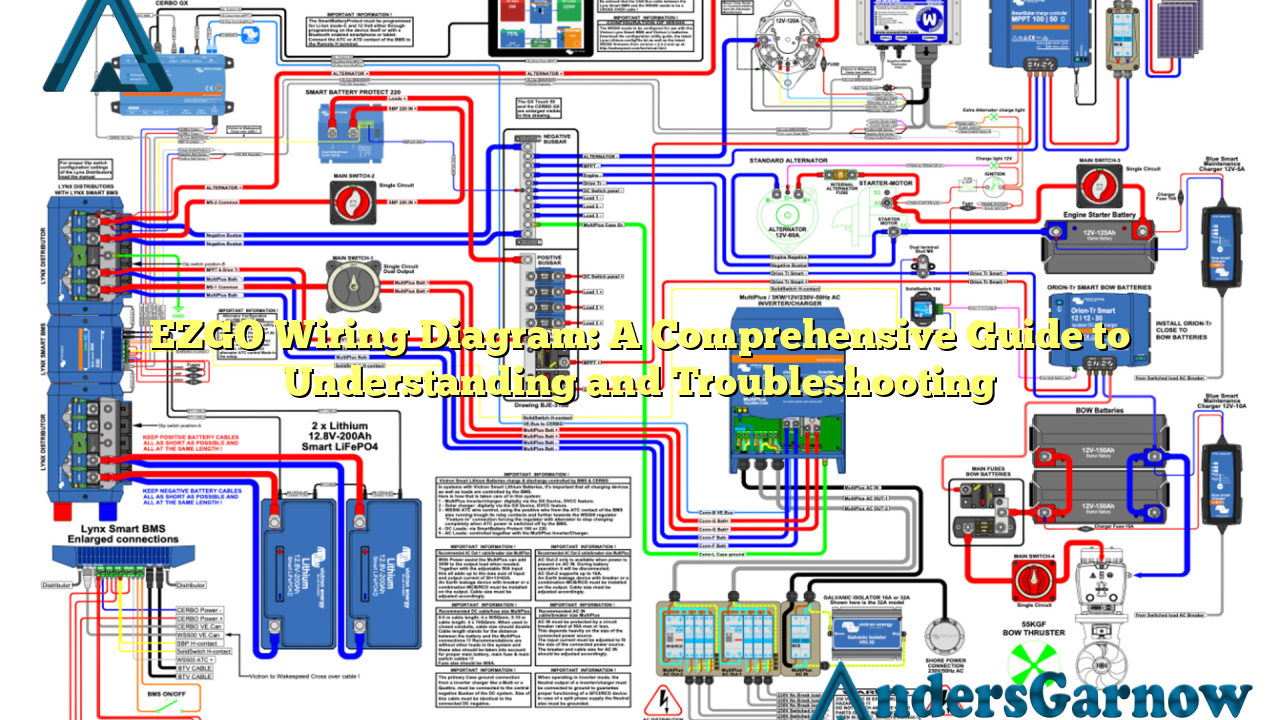
An EZGO wiring diagram is a visual representation of the electrical connections and components in an EZGO golf cart. It shows the wiring layout, the color codes, and the connections between various electrical components such as batteries, solenoids, controllers, lights, and more. This diagram is crucial for understanding how the electrical system works and for troubleshooting any issues.
2. Understanding the Wiring Diagram
Before we dive into the details, let’s understand the basic elements of an EZGO wiring diagram. The diagram consists of lines representing wires, symbols representing components, and labels indicating wire colors and connection points. By studying the diagram, you can identify the path of electrical current, locate specific components, and understand how they are interconnected.
3. Benefits of Using an EZGO Wiring Diagram
Using an EZGO wiring diagram has several advantages. Firstly, it helps you understand the electrical system of your golf cart, allowing you to perform basic troubleshooting and repairs. Secondly, it enables you to modify or upgrade the electrical system by adding new components or features. Lastly, it serves as a valuable reference for technicians, ensuring that the wiring is done correctly and efficiently.
4. Common Issues and Troubleshooting
While EZGO golf carts are known for their reliability, electrical issues can still occur. Understanding common problems can help you troubleshoot and fix them quickly. Some common issues include dead batteries, faulty solenoids, broken wires, and malfunctioning controllers. The wiring diagram is an essential tool for identifying and rectifying these issues.
5. Step-by-Step Wiring Instructions
To help you get started, we have provided a step-by-step wiring instruction guide. This guide will take you through the process of wiring your EZGO golf cart from start to finish. It includes detailed explanations, diagrams, and tips to ensure a successful wiring project. Whether you are a beginner or an experienced DIYer, this guide will assist you in wiring your golf cart correctly.
6. Alternative Wiring Options
While the standard EZGO wiring diagram is widely used, there are alternative wiring options available for specific purposes. Some golf cart owners prefer custom wiring setups to accommodate additional accessories or modifications. It is important to consult with experts or experienced technicians before opting for alternative wiring options to ensure compatibility and safety.
7. EZGO Wiring Diagram Table
| Component | Color | Function |
|---|---|---|
| Battery | Positive: Red Negative: Black |
Provides power to the electrical system |
| Solenoid | Green | Controls the flow of electrical current |
| Controller | Blue | Regulates the speed and direction of the golf cart |
| Lights | Yellow | Provides illumination for the golf cart |
8. Frequently Asked Questions (FAQ)
Q: Can I use the same wiring diagram for different models of EZGO golf carts?
A: While the basic wiring principles remain the same, different models may have slight variations in wiring configurations. Always refer to the specific wiring diagram for your golf cart model to ensure accuracy.
Q: How often should I check the wiring system of my EZGO golf cart?
A: It is recommended to perform regular visual inspections of the wiring system and check for any signs of damage or wear. Additionally, inspect the wiring system whenever you encounter electrical issues or before any major modifications.
Conclusion
In conclusion, understanding the EZGO wiring diagram is essential for troubleshooting, repairing, and modifying your golf cart’s electrical system. By following the step-by-step instructions and referring to the wiring diagram, you can ensure that your golf cart functions optimally. Remember to consult experts or experienced technicians for specific wiring needs or alternative options. Happy wiring!
