1. Understanding the Basics
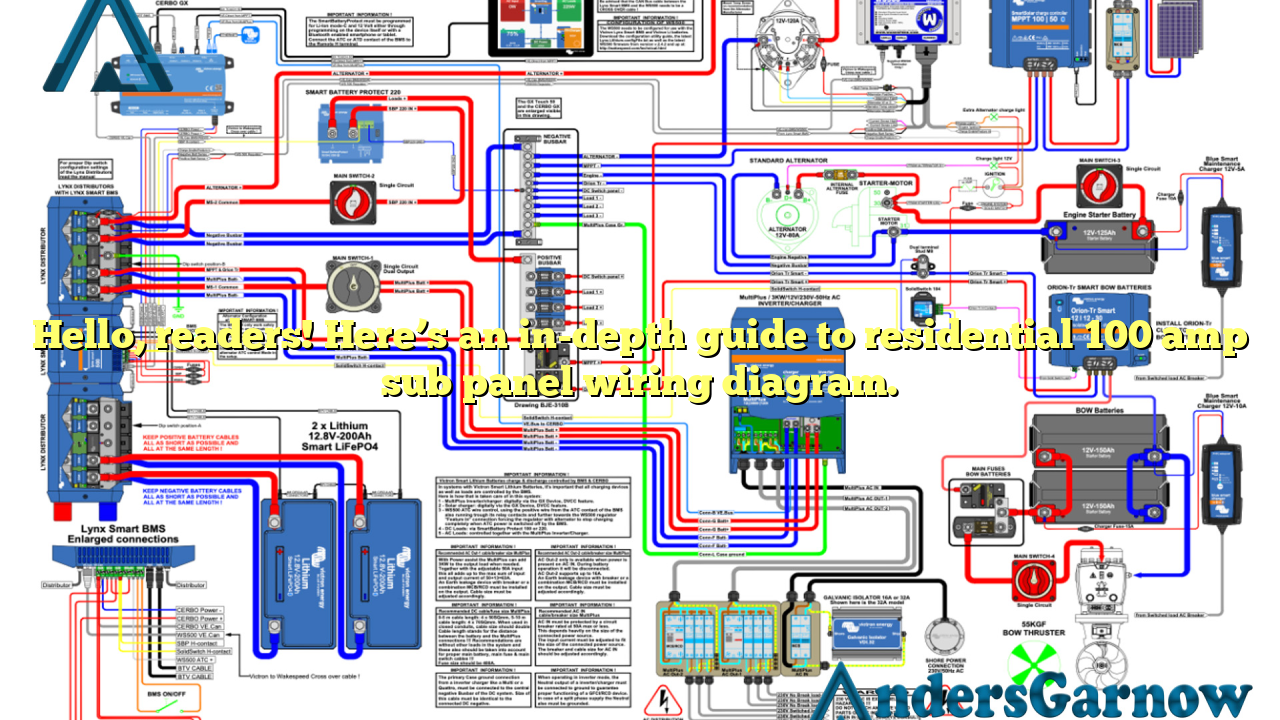
Residential 100 amp sub panel wiring diagram is an essential aspect of electrical installations. It involves distributing electrical power from the main panel to various sub panels throughout a residential property. This diagram provides a visual representation of how the wiring should be connected for optimal functionality and safety.
One of the key advantages of having a sub panel is that it allows for the distribution of power to specific areas or circuits within the house without overloading the main panel. However, it is crucial to understand the wiring diagram and follow proper installation procedures to avoid any potential hazards.
2. Planning the Installation
Prior to installing a residential 100 amp sub panel, careful planning is necessary. Determine the specific areas or circuits that require additional power and calculate the total electrical load. This information will help you select the appropriate size and capacity for the sub panel. It is advisable to consult an electrician or follow local electrical codes and regulations to ensure compliance.
3. Selecting the Sub Panel
When choosing a sub panel, consider its capacity, number of circuits, and available features. A 100 amp sub panel is suitable for residential properties with moderate electrical demands. It is important to select a high-quality sub panel that meets safety standards to prevent electrical issues in the future.
One disadvantage of a 100 amp sub panel is its limited capacity compared to higher amp options. If your electrical needs increase significantly in the future, you may need to upgrade to a larger sub panel.
4. Acquiring the Necessary Materials
Before starting the installation, gather all the required materials, including the sub panel, circuit breakers, wires, conduit, junction boxes, and appropriate tools. Ensure that the materials are of good quality and suitable for the intended use.
5. Turning Off the Power
Prior to any electrical work, always turn off the main power supply to ensure safety. This step is crucial to prevent electrical shocks or accidents during the installation process.
6. Mounting the Sub Panel
Select a suitable location for the sub panel, considering factors such as accessibility and proximity to the main panel. Mount the sub panel securely on a wall or surface, ensuring it is at the appropriate height and in a well-ventilated area.
7. Wiring the Sub Panel
Follow the wiring diagram provided with the sub panel to connect the main power supply to the sub panel. Use appropriate-sized wires and connect them to the designated terminals, ensuring proper grounding and insulation.
One disadvantage of sub panel wiring is that it requires careful attention to detail. Any mistakes in the wiring can lead to electrical malfunctions or even pose a fire hazard. It is crucial to double-check all connections and seek professional help if needed.
8. Connecting the Circuits
Once the sub panel is wired, connect the individual circuits to their designated breakers within the sub panel. Each circuit should be clearly labeled for easy identification. This step allows for the distribution of power to specific areas or circuits throughout the house.
9. Alternative Options
In addition to a 100 amp sub panel, there are alternative options available for residential electrical installations. Depending on your specific needs, you may consider a higher amp sub panel if you anticipate increased electrical demands in the future. It is advisable to consult with an electrician to determine the most suitable option for your home.
10. Frequently Asked Questions (FAQ)
Q: Can I install a sub panel myself?
A: While it is possible for homeowners to install a sub panel themselves, it is highly recommended to seek professional assistance or guidance. Working with electrical systems can be dangerous, and any mistakes can have severe consequences. It is better to prioritize safety and hire a licensed electrician for the installation.
Conclusion
In conclusion, a residential 100 amp sub panel wiring diagram is essential for safe and efficient distribution of electrical power within a property. By understanding the basics, planning the installation, and following proper procedures, you can successfully install a sub panel and meet your electrical needs. Remember to prioritize safety, consult professionals when needed, and comply with local electrical codes and regulations.
| Component | Description |
|---|---|
| Sub Panel | The secondary electrical distribution panel that receives power from the main panel and distributes it to various circuits. |
| Circuit Breakers | Protective devices that automatically interrupt the flow of electricity in case of an overload or short circuit. |
| Wires | Conductors that carry electrical current from the sub panel to different circuits or devices. |
