Hello readers! Welcome to our comprehensive guide on RV 30 amp wiring diagram. In this article, we will provide you with a detailed explanation of the wiring diagram, its advantages and disadvantages, as well as alternative options. So, let’s dive in and explore the world of RV electrical systems!
1. Understanding the Basics of RV 30 Amp Wiring Diagram
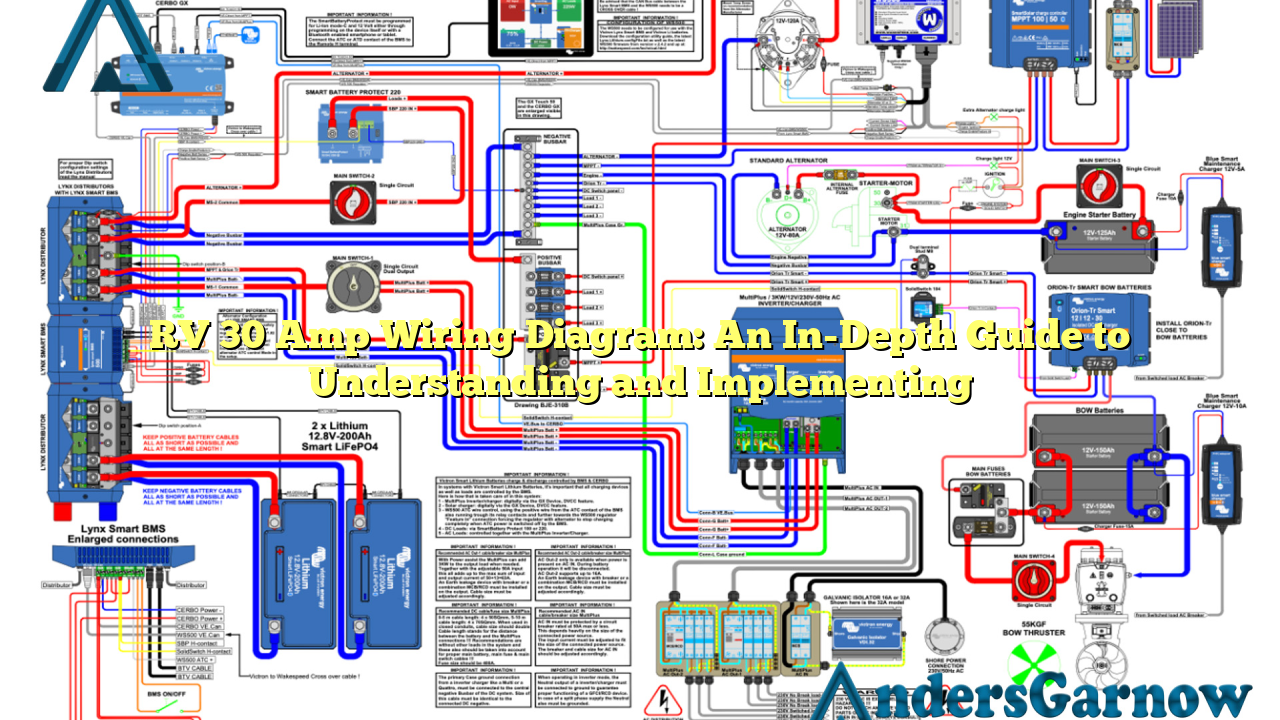
Before we delve into the specifics, let’s grasp the fundamentals of the RV 30 amp wiring diagram. This diagram illustrates the electrical connections and components required to power various appliances and systems in an RV that operates on a 30 amp electrical service.
Typically, a 30 amp RV plug has three prongs: one for the “hot” wire, one for the neutral wire, and one for the ground wire. The hot wire provides the electrical current, while the neutral wire carries the return current. The ground wire ensures safety by preventing electrical shocks.
2. Benefits of RV 30 Amp Wiring Diagram
Implementing the RV 30 amp wiring diagram in your RV offers several advantages. Firstly, it provides a standardized electrical system that is compatible with most RV parks and campgrounds, making it convenient for travel. Secondly, this wiring diagram allows you to power multiple appliances simultaneously without overloading the electrical system.
Furthermore, the 30 amp system is more cost-effective compared to higher amp options, both in terms of initial setup and maintenance. It provides sufficient power for most RV owners’ needs while being more energy-efficient.
3. Limitations and Drawbacks
Despite its benefits, the RV 30 amp wiring diagram does have some limitations. The main drawback is the limited power supply it offers. While it is suitable for most RV appliances, it may not be sufficient for high-power devices such as air conditioners or electric heaters. Additionally, installing and upgrading to a higher amp system can be complex and expensive.
4. Alternative Options for RV Electrical Systems
If the RV 30 amp wiring diagram doesn’t meet your specific power requirements, there are alternative options available. One such option is upgrading to a 50 amp electrical service, which provides more power and allows for the use of high-demand appliances. However, this upgrade may require modifications to your RV’s electrical system.
Another alternative is installing a sub-panel in your RV, which allows you to connect to different power sources simultaneously. This option provides flexibility in managing your power consumption and can be beneficial if you frequently visit locations with varying electrical setups.
5. Complete RV 30 Amp Wiring Diagram
Below is a table that outlines all the necessary information for implementing the RV 30 amp wiring diagram:
| Wire Color | Function |
|---|---|
| Black | “Hot” wire – carries the electrical current |
| White | Neutral wire – returns the current |
| Green or Bare Copper | Ground wire – ensures safety |
6. Frequently Asked Questions (FAQ)
Q: Can I use a 30 amp RV with a 50 amp service?
A: Yes, you can use a 30 amp RV with a 50 amp service by utilizing a 30-amp to 50-amp adapter. However, keep in mind that you will still be limited to the 30 amp capacity.
Q: How do I prevent electrical overloading in my RV?
A: To prevent overloading, it is crucial to be aware of your RV’s power consumption and limit the use of high-demand appliances simultaneously. Additionally, regular maintenance and inspections of your electrical system can help identify any potential issues.
Conclusion
In conclusion, understanding the RV 30 amp wiring diagram is essential for any RV owner. It provides a standardized and efficient electrical system, allowing you to power multiple appliances while ensuring safety. However, it is important to consider the limitations and explore alternative options if your power needs exceed the capabilities of a 30 amp system. By implementing the right wiring diagram and electrical setup, you can enjoy a hassle-free and reliable RV experience.
