Hello there, car enthusiasts! Are you looking to understand the intricacies of wiring an alternator diagram? Well, you’ve come to the right place. In this article, we will delve into the details of wiring a alternator diagram, providing you with a step-by-step guide that will help you navigate through this essential automotive process. So, let’s get started!
1. Understanding the Basics of Alternator Wiring
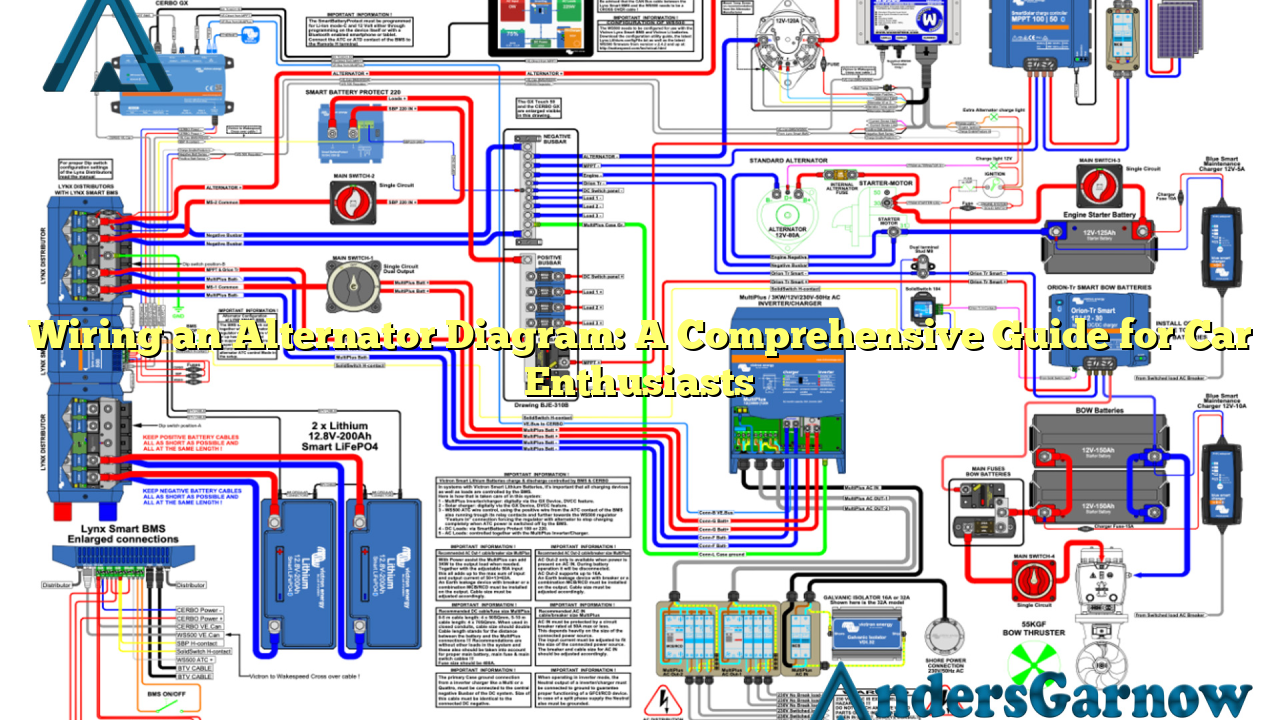
Before we dive into the diagram, let’s first understand the basics of alternator wiring. An alternator is an essential component of a car’s electrical system, responsible for converting mechanical energy into electrical energy. The alternator wiring diagram outlines the connections between the alternator, battery, and other electrical components of the vehicle.
It is crucial to have a clear understanding of the wiring diagram to ensure proper installation and functionality of the alternator. A well-executed wiring diagram will help you identify the necessary wires and their correct placement, minimizing the risk of electrical malfunctions.
2. The Components of an Alternator Wiring Diagram
Now that we grasp the importance of the wiring diagram, let’s explore its components. The alternator wiring diagram typically consists of the following elements:
| Component | Function |
|---|---|
| Alternator | Generates electrical energy |
| Battery | Stores electrical energy |
| Ignition Switch | Activates the electrical system |
| Fusible Link | Protects the electrical system from overloads |
| Voltage Regulator | Maintains a stable voltage output |
Understanding the function of each component is vital in comprehending the wiring diagram and ensuring a successful installation.
3. Advantages of Wiring an Alternator Diagram
Wiring an alternator diagram offers several advantages:
- Accurate Wiring: A wiring diagram provides precise instructions, ensuring correct connections between components.
- Troubleshooting: With a well-labeled diagram, troubleshooting electrical issues becomes more manageable.
- Efficiency: Proper wiring reduces the risk of electrical malfunctions, enhancing the overall efficiency of the alternator.
- Customization: A wiring diagram allows car enthusiasts to customize their electrical systems according to their specific needs.
4. Disadvantages of Wiring an Alternator Diagram
While the advantages of wiring an alternator diagram are significant, it’s essential to consider the potential disadvantages as well:
- Complexity: Wiring diagrams can be intricate, especially for individuals with limited electrical knowledge.
- Errors: Incorrect interpretation or execution of the wiring diagram can lead to electrical failures or even damage to the vehicle’s components.
- Time-consuming: Wiring an alternator diagram requires patience and time to ensure accurate connections.
5. Step-by-Step Guide to Wiring an Alternator Diagram
Now, let’s walk through a step-by-step guide on how to wire an alternator diagram:
- Identify the alternator, battery, ignition switch, fusible link, and voltage regulator.
- Refer to the wiring diagram provided by the alternator manufacturer.
- Connect the alternator’s positive terminal to the battery’s positive terminal using the appropriate wire gauge.
- Connect the alternator’s negative terminal to the vehicle’s chassis.
- Attach the ignition switch wire to the ignition terminal of the alternator.
- Connect the fusible link between the alternator’s output terminal and the battery’s positive terminal.
- Attach the voltage regulator wire to the corresponding terminal on the alternator.
- Double-check all connections to ensure they are secure and properly tightened.
- Test the electrical system to verify the alternator’s functionality.
- Refer to the wiring diagram for future troubleshooting or customization.
6. Alternative Wiring Methods for an Alternator Diagram
While each vehicle may have its specific wiring requirements, some alternative wiring methods are commonly used in alternator diagrams. These include:
- Self-Exciting Alternator: This wiring method eliminates the need for an external voltage regulator, simplifying the diagram.
- One-Wire Alternator: In this method, a single wire connects the alternator to the battery, streamlining the wiring process.
Exploring alternative wiring methods can provide car enthusiasts with options that suit their preferences and specific vehicle models.
Conclusion
Wiring an alternator diagram is a crucial aspect of ensuring a well-functioning electrical system in your vehicle. By understanding the basics, components, advantages, and disadvantages, you are now equipped with the knowledge to successfully wire an alternator diagram. Remember to refer to the provided wiring diagram for accurate connections, and always exercise caution when working with electrical systems. Happy wiring!
