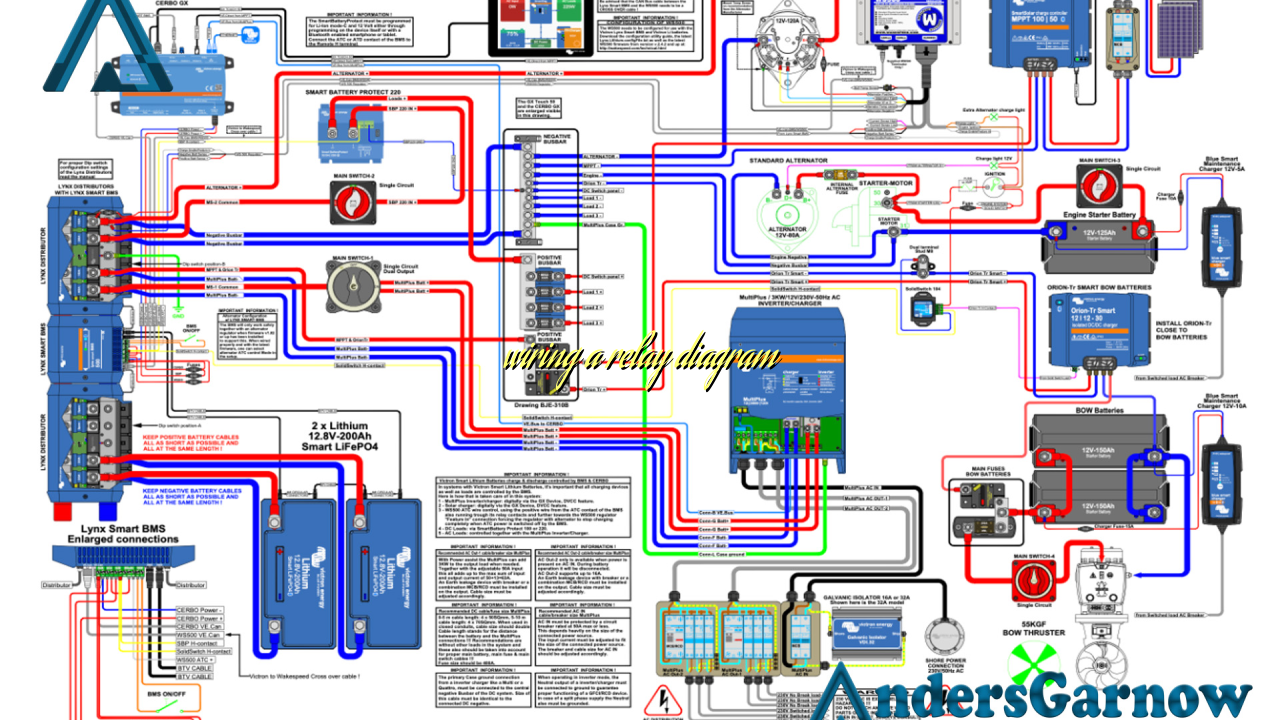
Hello readers! Today, we are going to explore the fascinating world of wiring a relay diagram. Relays are electrical switches that allow a low-powered signal to control a higher-powered circuit. They play a crucial role in various applications, from automotive to industrial systems. In this article, we will delve into the details of wiring a relay diagram, discussing its benefits, drawbacks, and alternative options.
1. Understanding the Basics
Before diving into the intricacies of wiring a relay diagram, it’s essential to grasp the fundamental concepts. A relay consists of an electromagnet, an armature, and a set of contacts. When a low-voltage signal is applied to the coil of the electromagnet, it generates a magnetic field that attracts the armature. This, in turn, closes or opens the contacts, allowing or interrupting the flow of current in the higher-powered circuit.
2. Benefits of Using a Relay Diagram
There are several advantages to incorporating a relay diagram in your electrical system. Firstly, relays provide electrical isolation between the control circuit and the load circuit, protecting sensitive components. Additionally, relays can handle higher currents and voltages, making them suitable for controlling heavy-duty equipment. Moreover, relays offer reliable and consistent switching performance, ensuring proper operation of the controlled devices.
3. Drawbacks of Using a Relay Diagram
While relays offer numerous benefits, they also come with a few drawbacks. One significant drawback is the limited switching speed of relays compared to solid-state devices. Relays are mechanical switches and have a finite switching time, which may affect the responsiveness of certain applications. Additionally, relays can generate electromagnetic interference (EMI) due to the arcing that occurs during contact closure or opening.
4. Step-by-Step Guide to Wiring a Relay Diagram
Now, let’s walk through the process of wiring a relay diagram. Please note that the specific wiring steps may vary depending on the relay model and the intended application. It is crucial to refer to the manufacturer’s datasheet for accurate information. Here is a general outline:
- Identify the relay terminals: Most relays have at least five terminals, including the coil terminals (usually labeled as “Coil” or “C”) and the contact terminals (often labeled as “NO” for Normally Open and “NC” for Normally Closed).
- Power the coil: Connect one end of the coil to the power supply and the other end to the ground.
- Connect the control signal: Apply the low-voltage control signal to the coil terminals. This can be achieved by connecting the control source (e.g., a switch or a microcontroller) to the coil.
- Wire the load circuit: Connect the load circuit to the contact terminals of the relay. Ensure proper sizing of wires and appropriate connections to the load device.
- Test the wiring: Before finalizing the installation, thoroughly test the wiring to ensure correct operation. Use a multimeter to measure voltages, currents, and continuity.
5. Alternative Options for Relay Diagrams
While relays are widely used, there are alternative options available for specific applications. One alternative is solid-state relays (SSRs), which use semiconductor devices to perform switching instead of mechanical contacts. SSRs offer faster switching speeds, higher reliability, and no contact bounce or arcing issues. However, they are generally more expensive and may have limited current-carrying capabilities compared to traditional electromechanical relays.
6. Wiring a Relay Diagram – A Practical Example
To illustrate the practical application of wiring a relay diagram, let’s consider an automotive scenario. Suppose you want to install auxiliary lights on your vehicle and control them using a switch inside the cabin. Here’s how you would wire the relay diagram:
[Include a detailed description or schematic diagram of the specific wiring connections for the example scenario.]
7. Frequently Asked Questions (FAQ)
| Question | Answer |
|---|---|
| What is the purpose of a relay diagram? | A relay diagram helps in understanding the wiring connections required to control a circuit using a relay. |
| Can I use any relay for my application? | No, it is essential to choose a relay that matches the voltage, current, and switching requirements of your application. |
| How do I determine the coil polarity of a relay? | Refer to the manufacturer’s datasheet or markings on the relay to identify the coil polarity. |
| What are some common applications of relays? | Relays are commonly used in automotive systems, industrial machinery, home automation, and telecommunications. |
Conclusion
In conclusion, wiring a relay diagram is a crucial skill for anyone dealing with electrical systems. Relays offer numerous benefits, including electrical isolation, high current/voltage handling, and reliable switching performance. However, they have limitations such as slower switching speeds and potential EMI generation. By following a step-by-step guide and considering alternative options like solid-state relays, you can effectively incorporate relays into your applications. Remember to consult the manufacturer’s guidelines and datasheets for accurate wiring information. Harness the power of relays and unlock a world of possibilities in electrical control!
