Hello there! In this article, we will delve into the world of electrical connections and explore the intricacies of wiring diagram for 220. Whether you are an electrician or a DIY enthusiast, understanding the wiring diagram for 220 is crucial for safe and efficient electrical installations. So, let’s dive right in!
1. Introduction to Wiring Diagram for 220
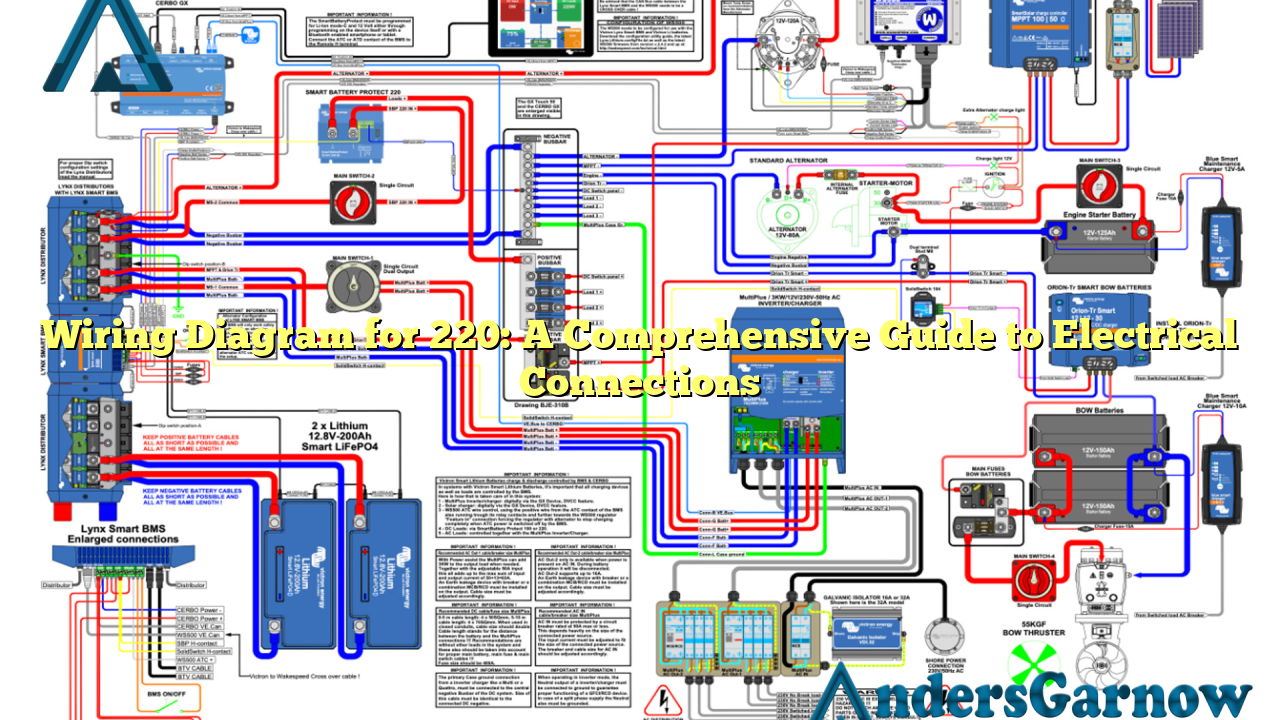
Before we jump into the details, let’s have a brief overview of what a wiring diagram for 220 entails. A 220-volt electrical system is commonly used for heavy-duty appliances and equipment, such as air conditioners, electric water heaters, and large power tools. The wiring diagram provides a visual representation of the electrical connections required to power these devices.
The diagram typically includes information about the circuit breaker, wiring gauge, outlet type, and grounding. It helps electricians and DIYers ensure that the electrical system is properly installed, minimizing the risk of electrical accidents and equipment damage.
2. Understanding the Components
Before attempting any wiring project, it is essential to understand the different components involved. In a wiring diagram for 220, you will come across several key elements:
- Circuit Breaker: This safety device protects the electrical circuit from overloading and short circuits. It automatically cuts off the power supply when necessary.
- Wiring Gauge: The gauge of the wire determines its current-carrying capacity. For a 220-volt system, thicker wires with a lower gauge are required to handle the higher electrical load.
- Outlet Type: The type of outlet used in a 220-volt system may vary depending on the specific appliance or equipment being powered.
- Grounding: Proper grounding is crucial for electrical safety. It provides a path for stray electrical currents to safely dissipate, reducing the risk of electric shock.
3. The Advantages of Wiring Diagram for 220
Using a wiring diagram for 220 offers several advantages:
- Efficient Power Supply: A 220-volt system provides a higher voltage, allowing heavy-duty appliances to operate more efficiently.
- Compatibility: Many appliances and equipment are designed to work specifically with a 220-volt power supply, ensuring compatibility and optimal performance.
- Greater Capacity: The higher voltage of a 220-volt system allows for increased power capacity, making it ideal for energy-intensive devices.
- Reduced Energy Loss: Due to the lower current required, a 220-volt system experiences less energy loss during transmission, resulting in lower energy bills.
4. The Limitations of Wiring Diagram for 220
While a wiring diagram for 220 offers numerous benefits, it is essential to be aware of its limitations:
- Specialized Outlets: The use of a 220-volt system requires specific outlets, which may not be readily available in all locations.
- Professional Installation: Handling a 220-volt system requires expertise and knowledge. It is generally recommended to hire a licensed electrician for installation and repairs.
5. Alternatives to Wiring Diagram for 220
If a 220-volt system is not feasible or available, there are alternative options for powering heavy-duty appliances:
- 240-Volt Systems: In some regions, a 240-volt system is used instead of a 220-volt system. The principles and wiring connections are similar, but it is essential to consult local electrical codes and regulations.
- Split Phase Systems: Split phase systems utilize two 120-volt power sources to create a 240-volt supply. This is commonly used for residential applications.
6. Wiring Diagram for 220: A Step-by-Step Guide
To provide a more comprehensive understanding, let’s walk through the step-by-step process of wiring diagram for 220:
- Start by turning off the power supply to the circuit you will be working on.
- Select the appropriate circuit breaker for the specific appliance or equipment.
- Determine the correct wiring gauge based on the electrical load.
- Connect the wires to the circuit breaker, ensuring secure connections.
- Route the wires to the outlet location, avoiding any sharp edges or potential hazards.
- Install the appropriate outlet according to the wiring diagram.
- Double-check all connections and ensure proper grounding.
- Turn on the power supply and test the appliance or equipment.
- Regularly inspect and maintain the electrical system to ensure its safety and functionality.
7. Wiring Diagram for 220: FAQ
| Question | Answer |
|---|---|
| Can I use a 220-volt appliance with a 240-volt power supply? | Yes, a 220-volt appliance can typically operate with a 240-volt power supply without any issues. However, it is crucial to consult the manufacturer’s specifications to ensure compatibility. |
| What happens if I connect a 220-volt appliance to a 120-volt power supply? | Connecting a 220-volt appliance to a 120-volt power supply will result in insufficient power, potentially damaging the appliance and posing safety risks. Always verify the power supply requirements before connecting any electrical device. |
| Can I install a 220-volt system myself? | While it is possible to install a 220-volt system as a DIY project, it is highly recommended to hire a licensed electrician. They have the knowledge and experience to ensure proper installation and compliance with electrical codes. |
Conclusion
In conclusion, understanding the wiring diagram for 220 is essential for safe and efficient electrical connections. It allows for the proper installation of heavy-duty appliances and equipment, ensuring optimal performance and reducing the risk of electrical accidents. Remember to consult local electrical codes and regulations and, when in doubt, seek professional assistance. Stay safe and enjoy your electrical projects!
