Hello! Welcome to our detailed guide on wiring in a switch diagram. Whether you are a professional electrician or a DIY enthusiast, understanding the intricacies of switch wiring is crucial for any electrical project. In this article, we will provide you with a step-by-step breakdown of wiring in a switch diagram, discussing its advantages, disadvantages, and alternative options. So, let’s dive right in!
1. Understanding the Basics of Switch Wiring
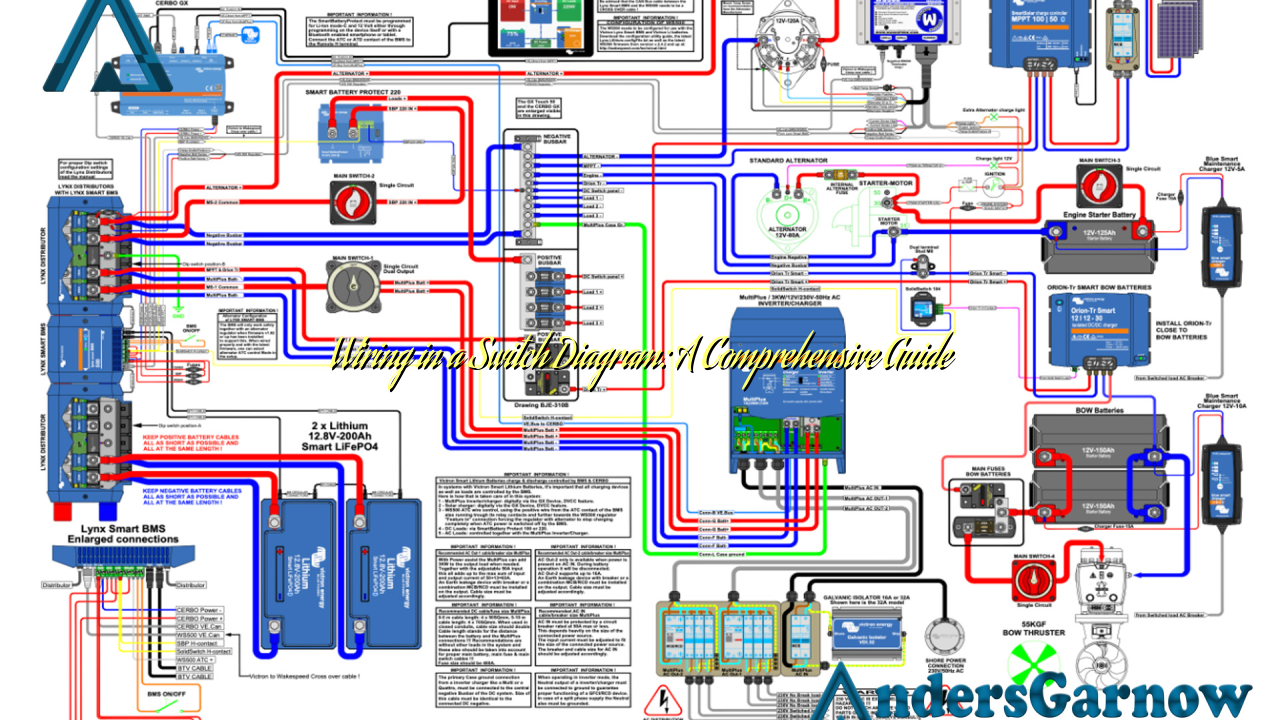
Before we delve into the details, let’s grasp the fundamental concept of switch wiring. A switch diagram illustrates how electrical devices are connected within a circuit. It showcases the flow of electricity, indicating where power is sourced from and how it is distributed. By comprehending the basics, you’ll be better equipped to handle more complex wiring tasks.
2. The Advantages of Using a Switch Diagram
Switch diagrams offer several benefits, including:
- Clear Visualization: A switch diagram provides a visual representation of the circuit, making it easier to understand and troubleshoot.
- Efficient Planning: With a diagram, you can plan the positioning of switches, lights, and other electrical components effectively.
- Troubleshooting Made Simple: When an electrical issue arises, a switch diagram helps identify the problem area quickly.
3. The Disadvantages of Using a Switch Diagram
While switch diagrams are widely used, they do have some drawbacks:
- Complexity: For beginners, understanding switch diagrams can be challenging due to the technical nature of electrical circuits.
- Space Limitations: In situations where multiple switches are involved, fitting everything into a single diagram may become cumbersome.
- Updates and Modifications: If changes are made to the circuit, the diagram needs to be updated accordingly, which can be time-consuming.
4. Alternative Options for Switch Wiring
Aside from traditional switch diagrams, there are alternative methods available:
- Electronic Design Software: Using specialized software, you can create digital representations of your circuits, offering more flexibility and ease of modification.
- Physical Prototyping: Some individuals prefer physically constructing a prototype of their circuit using breadboards or other prototyping tools.
5. Wiring in a Switch Diagram: Step-by-Step Guide
Now, let’s walk through the process of wiring in a switch diagram:
- Identify the power source: Determine where the electricity is coming from and mark it on the diagram.
- Connect the neutral wire: Link the neutral wire to the corresponding terminals, ensuring a secure connection.
- Install the switch: Position the switch in the desired location and connect the live wire accordingly.
- Connect the load wire: Attach the load wire, which leads to the device or light fixture, to the switch.
- Double-check connections: Ensure all wires are securely fastened and insulated to prevent any short circuits.
- Test the circuit: Before closing everything up, test the circuit to verify that the switch operates as intended.
- Label the diagram: Once the wiring is complete, label the diagram for future reference.
- Make necessary adjustments: If any issues arise during testing, troubleshoot and make the necessary adjustments to the wiring.
- Finalize the installation: Once everything is functioning correctly, secure the wiring in its designated locations and close up the switch box.
6. Wiring in a Switch Diagram Table
| Component | Function | Color Code |
|---|---|---|
| Power Source | Supplies electrical energy to the circuit | Black (US), Brown (EU) |
| Neutral Wire | Returns electrical current to the source | White (US), Blue (EU) |
| Live Wire | Carries electrical current from the source to the switch | Black (US), Brown (EU) |
| Load Wire | Connects the switch to the device or light fixture | Black (US), Brown (EU) |
7. Frequently Asked Questions (FAQ)
Q: Can I install a switch without a diagram?
A: While it is possible to install a switch without a diagram, it is highly recommended to use one for a safer and more efficient installation process.
Q: Are there different types of switches?
A: Yes, various types of switches exist, including toggle switches, rocker switches, push-button switches, and dimmer switches.
Q: Which wire should I connect to the common terminal of the switch?
A: The live wire should be connected to the common terminal of the switch.
Conclusion
In conclusion, understanding and utilizing a switch diagram is crucial for any electrical wiring project. While it may have its complexities and limitations, a switch diagram provides a clear visualization of the circuit, making planning, troubleshooting, and modifications easier. By following our step-by-step guide and considering alternative options, you can ensure a successful switch wiring installation. Remember to always prioritize safety and consult a professional if needed. Happy wiring!
