Hello readers! Today, we are going to discuss the topic of wiring a 50 amp RV plug diagram. This comprehensive guide will provide you with detailed information on how to properly wire a 50 amp RV plug, its advantages, disadvantages, and alternative options.
1. Understanding the Basics of a 50 Amp RV Plug
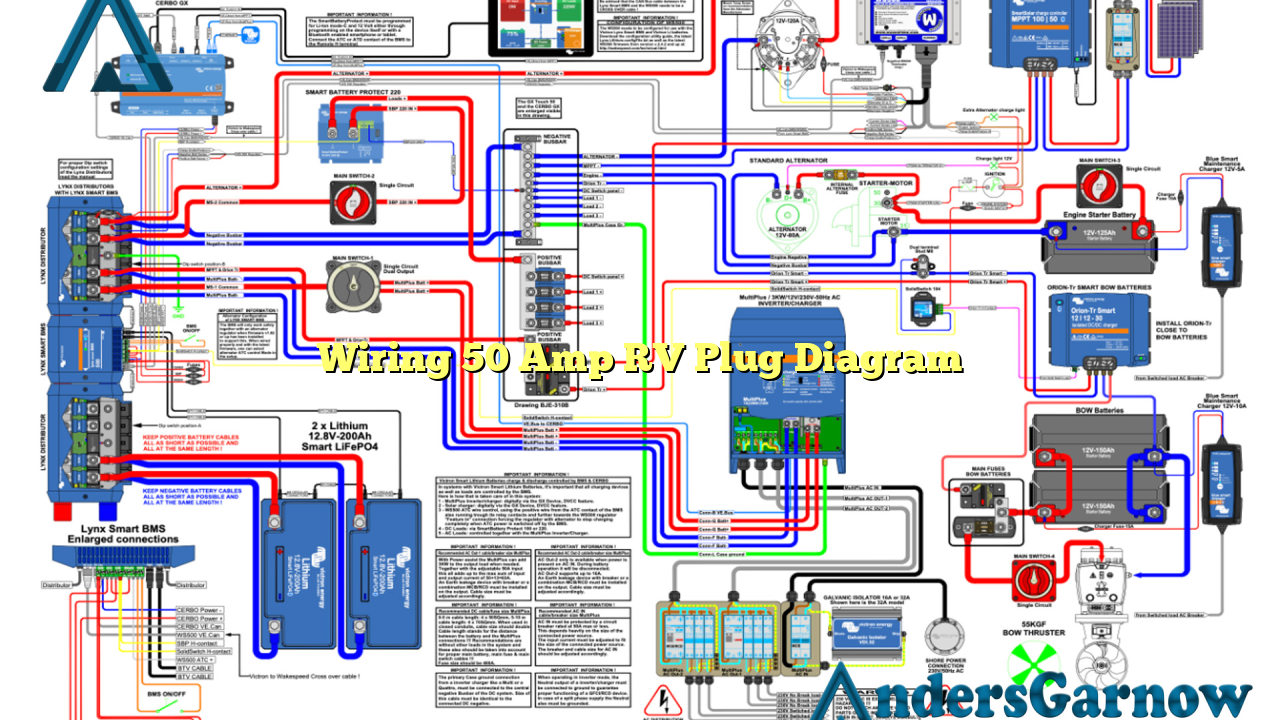
A 50 amp RV plug is a powerful electrical outlet used in recreational vehicles to provide electricity for various appliances and systems. It consists of three prongs – one 120-volt prong, one 240-volt prong, and a ground prong. It is crucial to understand the correct wiring configuration to ensure a safe and efficient power supply.
2. Wiring Configuration
The wiring configuration for a 50 amp RV plug follows a specific pattern. The 120-volt prong is connected to the neutral wire, while the 240-volt prong is connected to the hot wire. The ground prong is connected to the grounding wire. It is essential to double-check the wiring to avoid any electrical hazards.
3. Advantages of a 50 Amp RV Plug
The main advantage of a 50 amp RV plug is its high power capacity. It allows you to run multiple appliances simultaneously, such as air conditioners, refrigerators, and microwave ovens, without overloading the circuit. This provides convenience and comfort during your RV trips.
4. Disadvantages of a 50 Amp RV Plug
One disadvantage of a 50 amp RV plug is its larger size compared to other types of plugs. This requires a dedicated outlet and proper installation. Additionally, the high power capacity may lead to increased energy consumption and higher electricity bills.
5. Alternative Wiring Options
If a 50 amp RV plug is not available or suitable for your RV, there are alternative options to consider. One option is to use a 30 amp RV plug, which provides lower power capacity but is more commonly available. Another option is to use an adapter to convert a 50 amp plug to a 30 amp plug, allowing compatibility with different power sources.
6. Wiring 50 Amp RV Plug Diagram – Step by Step
Here is a detailed step-by-step guide on how to wire a 50 amp RV plug:
- Turn off the power supply and ensure it is completely disconnected.
- Remove the cover plate of the electrical panel.
- Connect the ground wire to the grounding bar in the panel.
- Connect the neutral wire to the neutral bus bar.
- Connect the hot wire to the circuit breaker.
- Attach the other end of the hot wire to the 240-volt prong of the RV plug.
- Connect the neutral wire to the 120-volt prong of the RV plug.
- Securely tighten all connections and ensure there are no loose wires.
- Turn on the power supply and test the RV plug with a voltage tester.
7. Wiring 50 Amp RV Plug Diagram – Table
| Prong | Wire Connection |
|---|---|
| 120-volt prong | Neutral wire |
| 240-volt prong | Hot wire |
| Ground prong | Grounding wire |
8. Frequently Asked Questions (FAQ)
Q: Can I use a 50 amp RV plug with a 30 amp power source?
A: No, it is not recommended to use a 50 amp RV plug with a 30 amp power source as it may cause electrical issues and potential damage to your RV’s electrical system.
Q: Can I install a 50 amp RV plug myself?
A: If you have sufficient knowledge and experience in electrical work, you can install a 50 amp RV plug yourself. However, it is always recommended to consult a professional electrician for safety purposes.
Conclusion
In conclusion, understanding the wiring of a 50 amp RV plug is essential for safe and efficient power supply in your recreational vehicle. Ensure you follow the proper wiring configuration and consult professionals if needed. Consider the advantages, disadvantages, and alternative options to determine the most suitable power source for your specific needs. Stay safe and enjoy your RV adventures!
