Hello readers! In this article, we will delve into the intricacies of wiring an alternator diagram. The alternator is a vital component of any vehicle’s electrical system, responsible for generating electricity to power various devices and recharge the battery. Understanding the wiring diagram is essential for proper installation and troubleshooting. So, let’s dive in!
1. The Basics of Alternator Wiring
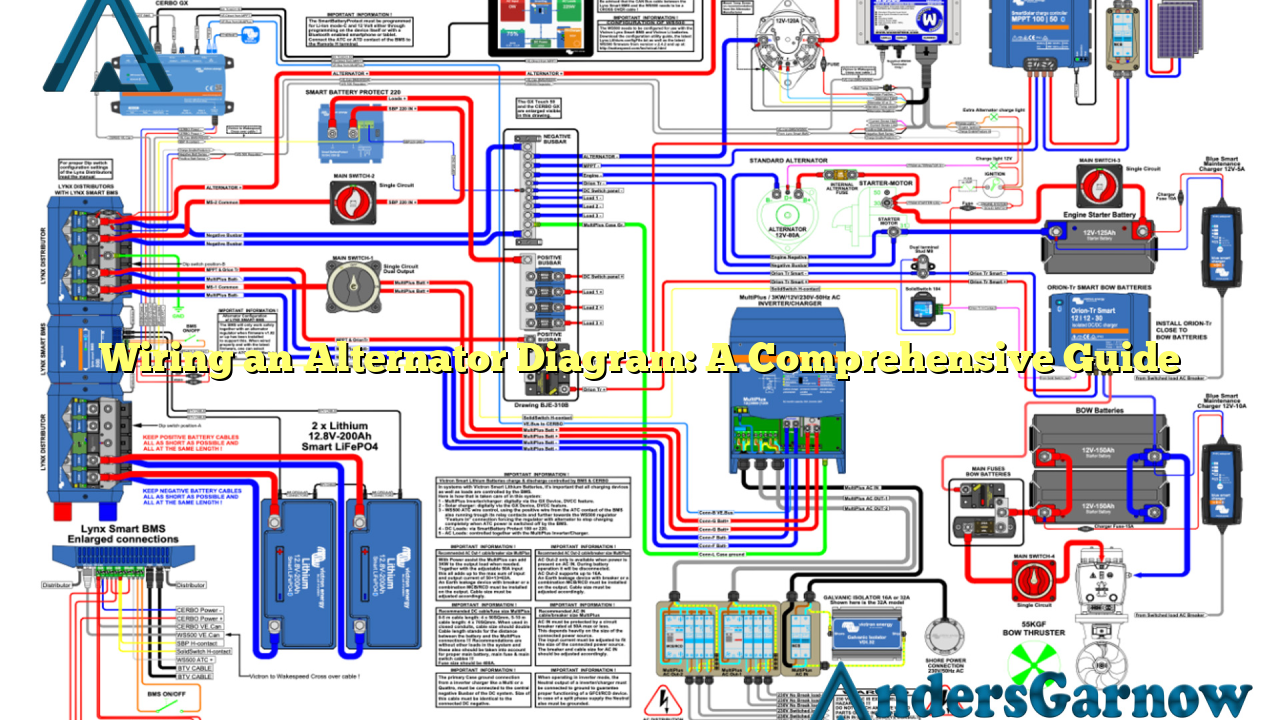
The alternator wiring diagram provides a visual representation of the electrical connections within the alternator. It illustrates the path of current flow, the various terminals, and their functions. By referring to this diagram, you can ensure correct connections, preventing damage to the alternator or other electrical components of the vehicle.
One of the key components shown in the wiring diagram is the voltage regulator. Its purpose is to regulate the output voltage of the alternator, ensuring a steady flow of electricity to the battery and other electrical systems. The wiring diagram helps identify the terminals for the voltage regulator and how they should be connected.
2. Benefits of Using an Alternator Wiring Diagram
Using an alternator wiring diagram offers several advantages. Firstly, it simplifies the installation process, especially for those with limited electrical knowledge. The diagram provides a clear visual guide, making it easier to understand the correct connections and avoid mistakes.
Secondly, the wiring diagram aids in troubleshooting electrical issues. By following the diagram, you can identify potential problem areas and ensure all connections are secure. This can save time and money by avoiding unnecessary repairs or replacements.
3. Drawbacks of Incorrect Wiring
Incorrect wiring of the alternator can lead to various issues. One common problem is insufficient charging of the battery, resulting in frequent battery drain and potentially leaving you stranded. On the other hand, overcharging the battery can cause damage to the electrical system and shorten the battery’s lifespan.
Moreover, incorrect wiring may lead to malfunctioning electrical components, such as dimming headlights or erratic dashboard indicators. These issues can affect the safety and performance of the vehicle, making it crucial to follow the correct wiring diagram.
4. Alternator Wiring Diagram Alternatives
While the traditional wiring diagram is widely used, there are alternative methods available. One alternative is using online resources and tutorials, which provide step-by-step instructions and visual aids. These resources can be particularly helpful for beginners or those who prefer a more interactive learning experience.
Another alternative is seeking professional assistance. Auto electricians or mechanics have extensive knowledge and experience in wiring alternators. They can provide guidance and ensure the correct wiring connections, giving you peace of mind.
5. Comprehensive Alternator Wiring Diagram Table
| Terminal | Function |
|---|---|
| B+ | Main Output Terminal: Connects to the battery positive terminal |
| D+ | Excitation Terminal: Connects to the ignition switch or warning light |
| W | Stator Terminal: Connects to the stator windings |
| AC | AC Tap Terminal: Connects to the AC circuit |
| IG | Ignition Terminal: Connects to the ignition switch |
| FR | Frequency Terminal: Connects to the frequency control circuit |
| GRD | Ground Terminal: Connects to the vehicle’s ground |
| S | Sense Terminal: Connects to the battery positive terminal for voltage sensing |
6. Frequently Asked Questions (FAQ)
Q: What happens if I connect the terminals incorrectly?
A: Connecting the terminals incorrectly can result in various issues, such as battery drain, electrical component damage, or even a fire hazard. Always refer to the wiring diagram and double-check your connections.
Q: Can I use a different alternator model with the same wiring diagram?
A: It is generally recommended to use the exact alternator model specified in the wiring diagram. Different alternators may have variations in terminals, voltage outputs, or other specifications, which can lead to compatibility issues.
Q: How can I identify the terminals on my alternator?
A: Most alternators have labels or markings indicating the terminal functions. Additionally, the wiring diagram provides a clear visual representation of the terminals and their corresponding labels.
In conclusion,
Understanding the wiring an alternator diagram is crucial for proper installation and troubleshooting. By following the correct connections outlined in the diagram, you can ensure optimal performance of your vehicle’s electrical system. Remember to always double-check your connections and seek professional assistance if needed. Happy wiring!
